 Save to Pinterest
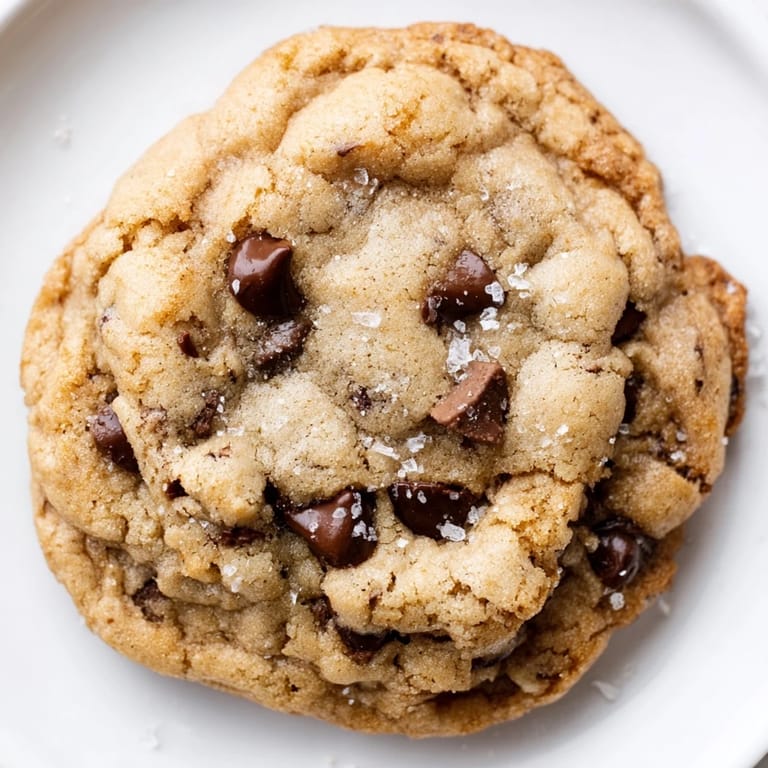
 The smell of butter and sugar caramelizing in the oven still stops me in my tracks, no matter how many times I make these cookies. I stumbled onto this recipe during a rainy Sunday afternoon when the grocery store was out of my usual chocolate chip cookie ingredients, forcing me to get creative with ratios. Sometimes the best discoveries happen when you work with what you have and pay attention to how the dough feels rather than following someone elses rules perfectly.
My roommate walked in while that first batch was baking and literally stood by the oven waiting. We ended up eating three warm cookies right off the baking sheet while standing in the kitchen, chocolate smeared on our fingers, laughing about how we were supposed to be saving them for a party the next day. That memory still surfaces every time I pull a tray from the oven.
Ingredients
- 2 1/4 cups all-purpose flour: The foundation that gives these cookies their structure without making them tough
- 1/2 teaspoon baking soda: Just enough lift to create those perfect ridges and crags
- 1/2 teaspoon salt: Balances the sweetness and makes the chocolate flavor pop
- 1 cup unsalted butter, softened: Room temperature butter incorporates better and creates that tender crumb
- 3/4 cup granulated sugar: Creates crisp edges and helps the cookies spread
- 3/4 cup packed light brown sugar: Adds moisture and deep caramel notes
- 2 large eggs: Binds everything together and adds richness
- 2 teaspoons pure vanilla extract: Do not skip this, it makes the kitchen smell incredible
- 2 cups semi-sweet chocolate chips: Classic for a reason, these hold their shape and stay melty
Tired of Takeout? 🥡
Get 10 meals you can make faster than delivery arrives. Seriously.
One email. No spam. Unsubscribe anytime.
Instructions
- Get your oven ready:
- Preheat to 350°F and line two baking sheets with parchment paper
- Mix the dry team:
- Whisk together flour, baking soda, and salt in a medium bowl
- Cream the butter and sugars:
- Beat them together until the mixture looks light and fluffy, about 2 minutes
- Add the wet ingredients:
- Drop in eggs one at a time, then mix in the vanilla until everything is combined
- Bring it together:
- Gradually stir in the flour mixture just until you no longer see white streaks
- Add the chocolate:
- Fold in the chips so every bite gets some chocolate goodness
- Scoop and space:
- Drop rounded tablespoons onto the sheets, leaving about 2 inches between each
- Bake to perfection:
- Bake for 10 to 12 minutes until edges turn golden but centers still look slightly soft
- The hardest part:
- Let them cool on the baking sheets for 5 minutes before moving them to a wire rack
 Save to Pinterest
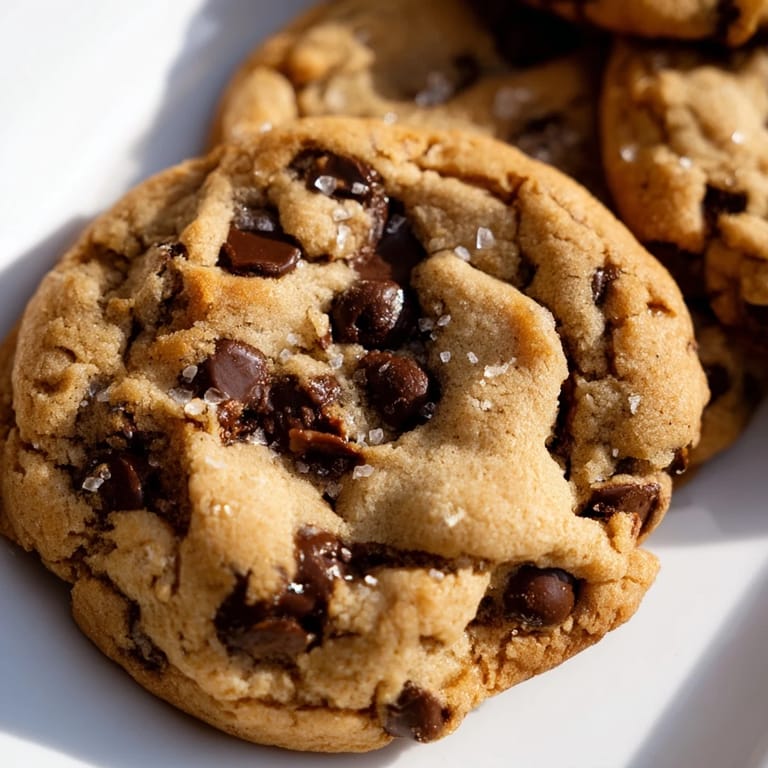
 These have become my go-to for new neighbors, bad days at work, and celebrating tiny victories. Something about warm chocolate chip cookies turns strangers into friends and makes problems feel smaller, at least until the last crumb disappears.
The Secret to Texture
Temperature matters more than you might think. Butter that is too cold won't cream properly with the sugars, while melted butter changes the entire cookie structure. I keep my butter on the counter for exactly one hour before baking, and the texture difference is noticeable.
Making Them Yours
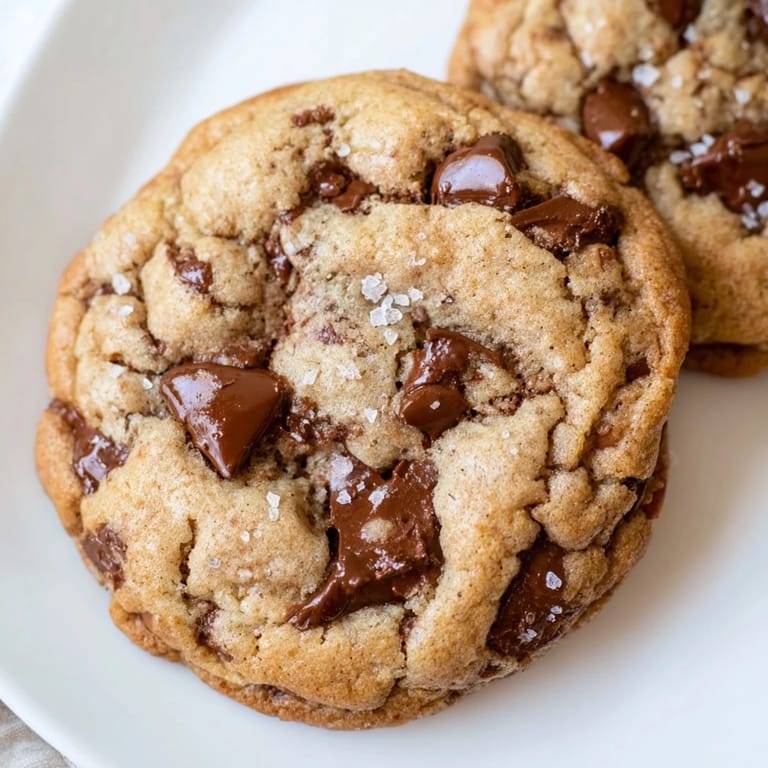
The base recipe is just the starting point. I have swapped chocolate chunks for chips, added sea salt on top before baking, and even mixed in toffee bits when feeling adventurous. Each variation teaches something new about how flavors work together.
Storage and Sharing
These cookies stay soft for days if stored properly, which is honestly impressive considering how quickly they usually disappear. The key is letting them cool completely before sealing them in an airtight container, otherwise trapped steam makes them soggy. I learned this the hard way after impatiently packing up warm cookies and waking up to sad, damp disks the next morning.
- Place a slice of bread in the container with cookies to keep them soft longer
- Freeze scooped dough balls on a baking sheet, then transfer to a bag for fresh cookies anytime
- Warm cooled cookies in the microwave for 10 seconds to recreate that fresh-baked experience
 Save to Pinterest
 Grab a glass of cold milk and someone you love, then enjoy that first warm bite together. Life is too short for store bought cookies.
Common Questions
- → Why chill the cookie dough before baking?
Chilling dough for 30 minutes prevents excessive spreading, enhances flavor development, and creates thicker cookies with chewier textures. The cold butter melts slower during baking.
- → How do I know when cookies are done baking?
Remove cookies when edges are golden brown but centers appear slightly underbaked and soft. They continue cooking on the hot baking sheet during the 5-minute cooling period.
- → Can I use salted butter instead of unsalted?
Yes, simply reduce the added salt to 1/4 teaspoon. Salted butter works perfectly fine though unsalted allows better control over the final saltiness level.
- → What causes cookies to spread too much?
Warm dough, butter that's too soft, or not enough flour can cause excessive spreading. Chill dough, use butter at room temperature rather than melted, and measure flour accurately.
- → How should I store these cookies?
Keep completely cooled cookies in an airtight container at room temperature up to 5 days. Place parchment paper between layers to prevent sticking. Freeze baked cookies up to 3 months.