 Save to Pinterest
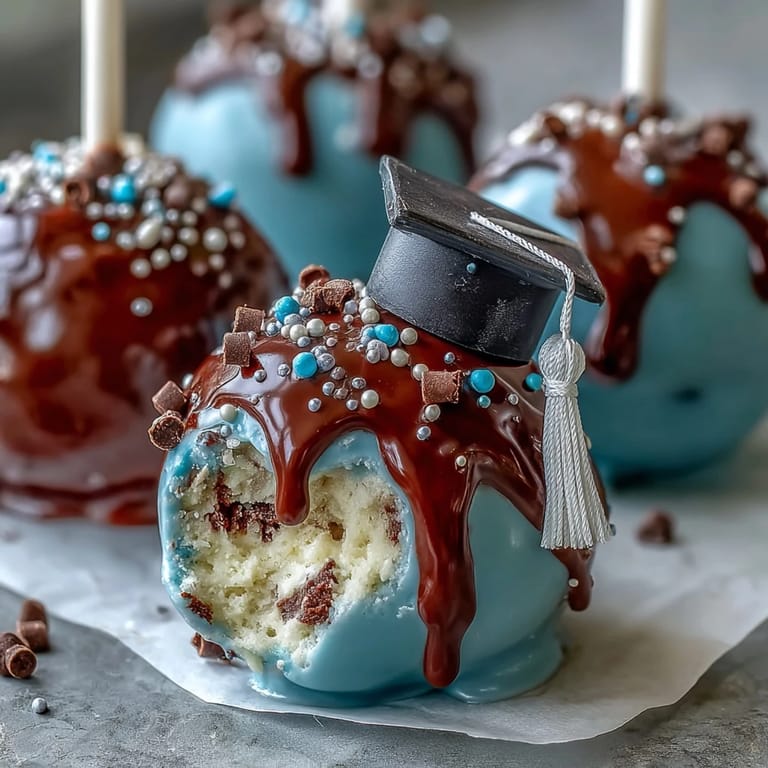
 The first time I made graduation cake pops, I found myself surrounded by a whirlwind of colored sprinkles and nervous excitement as my younger cousin anxiously waited to see if her school colors would come out right. The air smelled sweetly of chocolate and cake, with a bit of tension as we debated which shade of blue was most accurate. I never expected a simple dessert to feel so ceremonial, but the moment those pops stood upright, all glossy and trimmed with playful decorations, the kitchen felt alive with celebration. Sometimes, the funniest part is seeing everyone's faces as they try to pick the pop with the most impressive cap. These treats taught me that desserts could carry memories of achievement, wrapped in a swirl of chocolate and sugar.
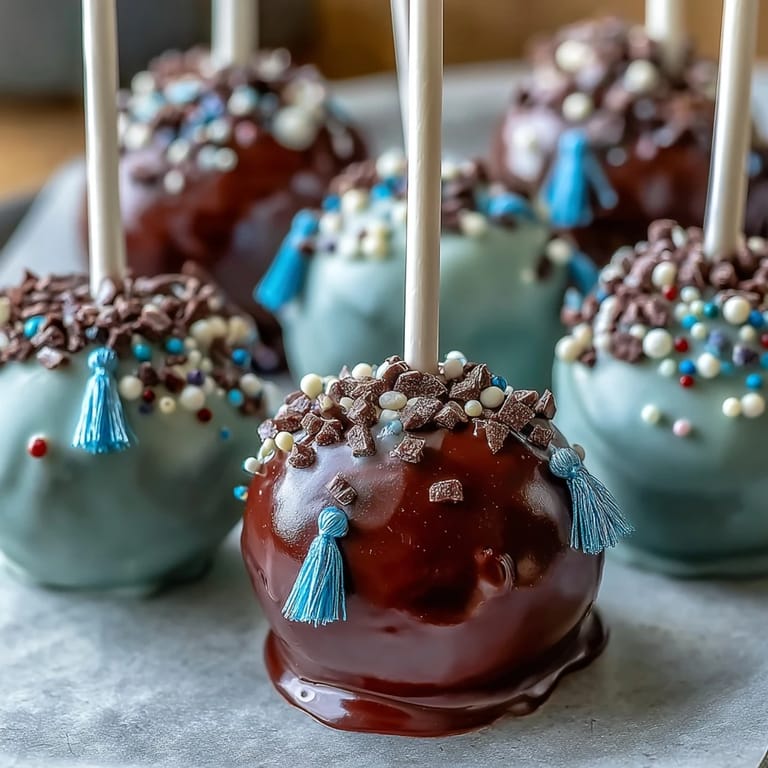
When my friend graduated college, I made these cake pops at midnight, using her favorite chocolate mix and secretly embedding the school's initials inside the decorations. We laughed about how the tassels kept sliding off, but the pops looked so bright against the party table. By the end of the night, the conversation had shifted from grades to who ate the most cake pops, proving that food can redefine a milestone. It was impossible not to smile watching everyone reach for another, caps slightly crooked.
Ingredients
- Vanilla or chocolate cake mix: Pick a flavor that feels festive; I've learned a lighter cake holds decorations better but chocolate delivers richer color contrast.
- Cream cheese or buttercream frosting: The secret glue; go slow when mixing so the texture stays firm, not soggy.
- Candy melts in school colors: These bring the party; melting them smooth is key, so add shortening if the coating seems thick.
- Vegetable shortening: A little goes a long way for a glossy finish; use only if your chocolate needs to flow easier.
- Sprinkles, edible glitter, colored sugar: Play with texture and sparkle—too much is never enough for festive vibes.
- Lollipop sticks: Make sure they're food-safe and sturdy—wobbly sticks lead to toppled pops.
- Mini chocolate chips: Ideal for tassels or accents; I always keep a handful extra just in case.
- Fondant in school colors (optional): For graduation caps, precision matters, but don't worry about perfection—quirky caps bring character.
Tired of Takeout? 🥡
Get 10 meals you can make faster than delivery arrives. Seriously.
One email. No spam. Unsubscribe anytime.
Instructions
- Bake the Cake:
- Prepare your cake according to the box or homemade recipe and let its aroma fill your kitchen; cool it completely so it doesn't melt the frosting later.
- Crumble and Mix:
- Break the cooled cake into fine crumbs, then gently blend with frosting until the mix sticks together but isn't wet.
- Shape the Pops:
- Scoop out small portions and roll into balls, lining them up on a tray like shiny marbles.
- Chill for Success:
- Refrigerate or freeze the pops until firm; you'll notice they handle much easier once chilled.
- Melt and Prep Coating:
- Melt your candy melts or chocolate smoothly, stir in shortening if needed, and breathe in the sweet scent.
- Stick Insertion:
- Dip each lollipop stick into a bit of coating and insert halfway into the cake balls—a clever trick for keeping sticks secure.
- Dipping Delight:
- Dip each cake pop into the melted coating, turning gently and tapping off excess for a silky shell.
- Decorate:
- As the coating sets, quickly shower pops with sprinkles or sugar, and add cap details using fondant and chocolate chips for that graduation look.
- Set Pops Upright:
- Place the finished pops in a styrofoam block or stand so the coating can harden—this is when they truly look party-ready.
 Save to Pinterest
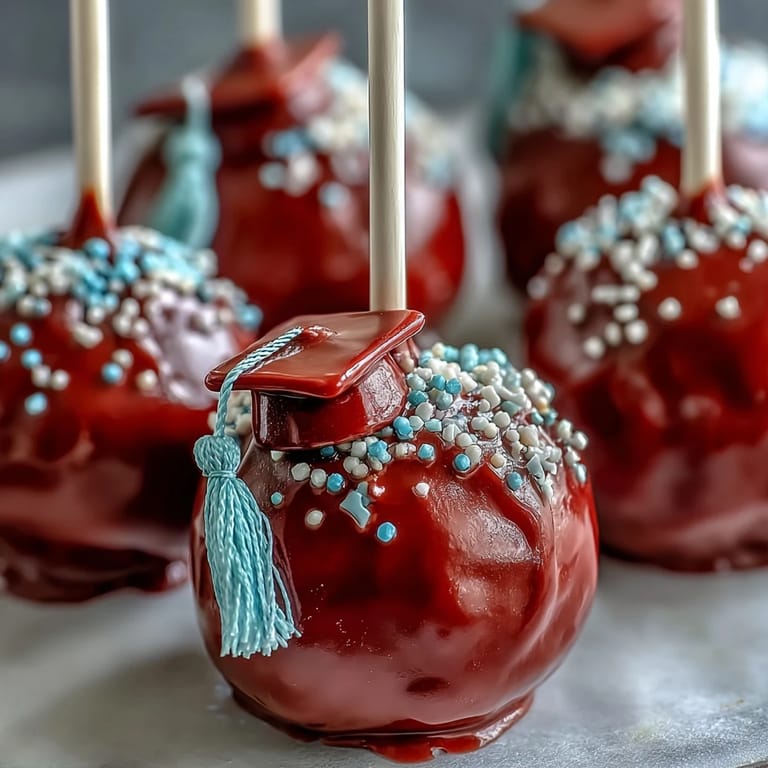
 Sharing these cake pops with classmates as confetti fluttered overhead, I realized how food can echo the joy of a milestone—the silly shape of a cap or extra sparkle turns snacks into cheerful messengers. It felt like the sweetness lingered after the last pop was gone, a tiny memory of accomplishment for everyone.
Decorating Details That Stand Out
Experimenting with edible markers was surprisingly fun—drawing graduation years turned each pop into a memory snapshot. Layering sprinkles in precise stripes takes patience, but you'll feel like an artist with each finished treat.
Making It Gluten-Free or Dairy-Free
Swapping for gluten-free mix means double-checking your sprinkles and candy melts to avoid hidden allergens. Dairy-free frosting works just as well, and I've used vegan white chocolate for coating when guests needed it.
Troubleshooting in Real Time
When my first batch cracked after setting, I learned to let cake pops warm up a few minutes before dipping. If your coating hardens too fast, keep a bowl of warm chocolate nearby for touch-ups. Testing one pop before decorating the rest saves a lot of cleanup.
- Check your cake pops for firmness before dipping—soft pops make for tricky coating.
- Don’t rush the chilling step; patience gives you cleaner results.
- Let the pops sit undisturbed until fully hardened for best shine and shape.
 Save to Pinterest
 These graduation cake pops tell a story of celebration in every bite. Wherever they're served, they bring smiles and a hint of playful pride.
Common Questions
- → Can I use homemade cake instead of box mix?
Yes, a fully cooled homemade cake works just as well for making cake pops. You can choose your favorite flavor.
- → How do I achieve the school colors for coating?
Use colored candy melts, or melt white chocolate and tint with food coloring to match your school’s colors.
- → How to prevent cake pops from falling off the stick?
Dip the tip of each lollipop stick in melted chocolate before inserting it into the cake ball. Chill pops before coating.
- → Can these be made ahead of graduation day?
Absolutely! Store them in an airtight container at room temperature for up to 3 days or refrigerate up to a week.
- → Are there gluten-free or allergy-friendly options?
You can use gluten-free cake mix and check decorations for allergens. Substitute ingredients where necessary.
- → How to decorate pops for graduation?
Press fondant squares on top for caps, attach mini chocolate chips for tassels, and use edible markers to personalize.