 Save to Pinterest
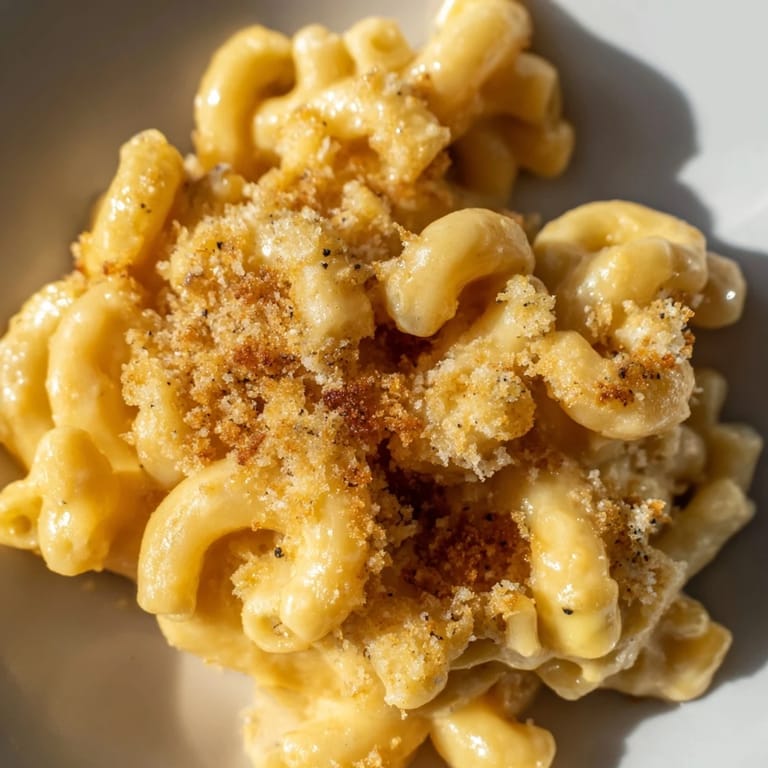
 The smell of butter hitting a hot pan still takes me back to my tiny first apartment kitchen, where I discovered that homemade mac and cheese bears no resemblance to the blue box. I remember calling my mom, convinced something had gone wrong because the sauce was too thick, only to learn that's exactly how it's supposed to look. That first batch was slightly grainy—I rushed the cheese melting—but my roommate still declared it the best thing I'd ever cooked.
Last winter, my neighbor texted at 6 PM because her kids were having a rough week and she needed something that just felt like a hug. I doubled this recipe and sent over a warm dish, still bubbling from the oven. She sent back a photo of empty bowls and one tiny hand giving a thumbs up, which honestly might be my favorite cooking moment ever.
Ingredients
- 250 g elbow macaroni: Elbows catch the sauce perfectly in their curves, though any short pasta works if that's what you have
- 2 tbsp unsalted butter: This forms the foundation of your roux, so don't swap it out—butter makes everything better
- 2 tbsp all-purpose flour: The secret to thick, restaurant-style cheese sauce that actually clings to the pasta
- 500 ml whole milk, warmed: Cold milk can make your sauce lumpy, and whole milk delivers the richest results
- 200 g sharp cheddar cheese, grated: Sharp cheddar gives you that punchy cheese flavor mild varieties just can't deliver
- 50 g Gruyère or mozzarella cheese: Optional but recommended, Gruyère adds nutty depth while mozzarella creates those gorgeous cheese pulls
- ½ tsp mustard powder: The hidden ingredient that makes cheese taste cheesier without adding any mustard flavor
- ¼ tsp ground black pepper: Freshly cracked makes a noticeable difference in the final flavor
- ½ tsp salt: Adjust based on whether you salted your pasta water generously
- 40 g breadcrumbs: Panko creates the crunchiest, most irresistible golden topping
- 1 tbsp unsalted butter, melted: Tossing the breadcrumbs with butter helps them brown beautifully
- 2 tbsp grated Parmesan cheese: Adds a salty, savory finish to the crispy topping
Tired of Takeout? 🥡
Get 10 meals you can make faster than delivery arrives. Seriously.
One email. No spam. Unsubscribe anytime.
Instructions
- Preheat and prep:
- Heat your oven to 200°C if you're planning to bake it, though stovetop version is just as delicious on busy nights.
- Cook the pasta:
- Boil the macaroni in salted water until just slightly underdone, about 1 to 2 minutes shy of package directions, since it'll finish cooking in the sauce later.
- Start the roux:
- Melt butter over medium heat, whisk in flour, and cook for 1 to 2 minutes while stirring constantly until it's smooth and bubbling.
- Add the milk:
- Slowly pour in warm milk while whisking, then cook until the sauce thickens enough to coat the back of a spoon, about 3 to 4 minutes.
- Melt in the cheese:
- Remove from heat completely, then stir in cheddar and Gruyère until melted and smooth, adding mustard powder, pepper, and salt.
- Combine everything:
- Pour the drained pasta into the cheese sauce and stir until every piece is coated in that gorgeous orange blanket.
- Add the topping:
- Mix breadcrumbs with melted butter and Parmesan, then sprinkle evenly over the pasta if you're baking it.
- Bake until golden:
- Cook for 15 to 20 minutes until the top is crispy and golden, then let it rest for 5 minutes so you can actually taste the first bite.
 Save to Pinterest
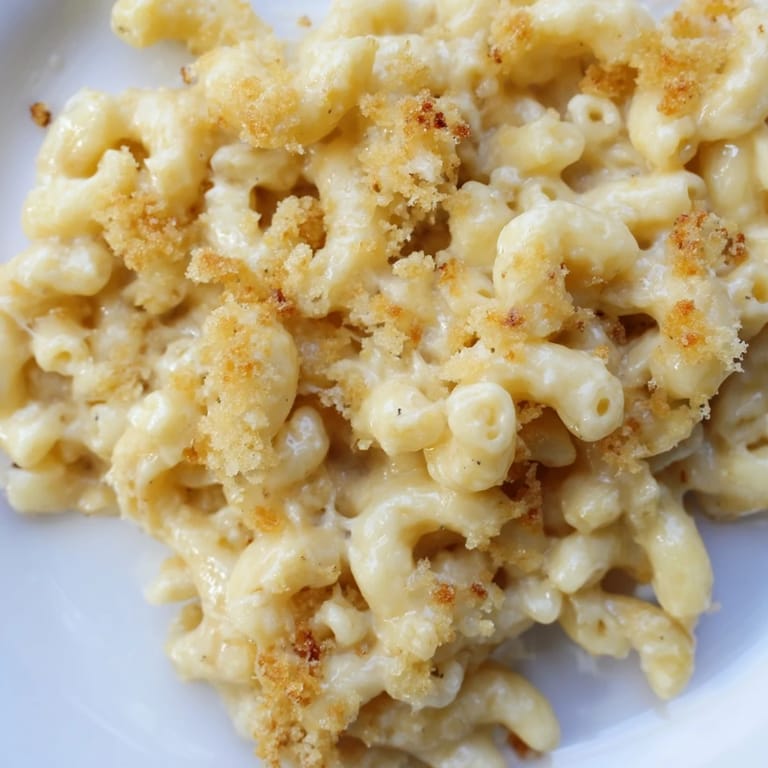
 This recipe became my go-to when my friend group started monthly Sunday supper traditions. There's something profoundly satisfying about watching people reach for seconds before anyone's even finished their first helping.
Making It Your Own
I've learned that mac and cheese is essentially a blank canvas for whatever you're craving. Sometimes I'll add caramelized onions for depth, or crumbled bacon because, well, bacon makes everything better. Once I stirred in roasted garlic and sun-dried tomatoes, and now my husband requests that version every time he's had an especially long week.
Baked Versus Stovetop
The baked version creates that irresistible crunchy contrast with the creamy pasta underneath, but honestly, stovetop mac and cheese hits differently on rainy Tuesdays when turning on the oven feels like too much effort. Both are valid, both are wonderful, and neither will judge your choice.
Make-Ahead Magic
You can assemble everything up to a day in advance, keep it covered in the refrigerator, then bake when you're ready. The sauce actually benefits from sitting—it gives the pasta time to really drink in all that cheesy goodness.
- Add an extra splash of milk before reheating if it's looking a bit dry
- Cover with foil for the first 10 minutes of reheating to prevent drying out
- Let it sit for 5 minutes after baking so the sauce settles and thickens slightly
 Save to Pinterest
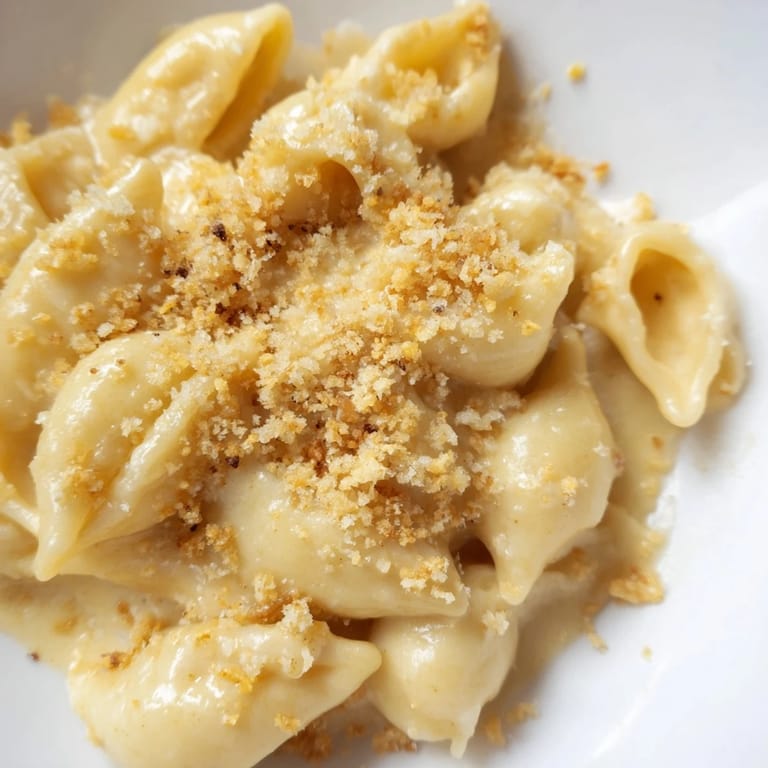
 Whether you're feeding a crowd or just treating yourself on a quiet Tuesday, this recipe is guaranteed comfort. That first bite of creamy, cheesy perfection never gets old.
Common Questions
- → What type of cheese works best?
Sharp cheddar provides the best flavor base, but adding Gruyère or mozzarella creates extra creaminess. The sharp cheddar's bold taste stands up well to the milk and flour base, while aged varieties melt beautifully into the sauce.
- → Can I make this ahead of time?
Prepare the complete dish up to 24 hours in advance, refrigerate covered, then bake with an additional 10-15 minutes until heated through and bubbly. The topping may need a few extra minutes under the broiler to regain crispiness.
- → How do I prevent grainy cheese sauce?
Always use warmed milk and shred your cheese from blocks rather than using pre-shredded varieties. Add cheese gradually off the heat, stirring constantly until each addition melts completely before adding more.
- → What's the difference between stovetop and baked versions?
The stovetop version offers creamy, immediate results in about 30 minutes. Baking adds 15-20 minutes but creates a crispy, golden breadcrumb topping and allows the flavors to meld together more deeply while developing a slightly thicker consistency.
- → Can I freeze leftovers?
Portion cooled leftovers into airtight containers and freeze for up to 3 months. Thaw overnight in the refrigerator, then reheat covered at 180°C (350°F) for 20-25 minutes, adding a splash of milk if needed to restore creaminess.
- → How can I add more protein?
Stir in cooked, crumbled bacon, diced ham, or shredded rotisserie chicken before baking. For vegetarian options, add steamed broccoli florets, peas, or spinach to boost both nutrition and texture contrast.